Overview
This Quick Reference Guide (QRG) is intended to demonstrate how to create a return in the eMaryland Marketplace Advantage (eMMA) from the perspective of the Requester profile.
NOTE: For best results, use the Google Chrome browser to access eMMA.
If you need help at any time, please reach out to the eMMA helpdesk at emma.helpdesk@maryland.gov.
Step-by-Step Instructions
NOTE: This QRG uses diagrams with specific callouts to show required and optional fields in forms. A yellow callout with a red border ![]() indicates a required field, while yellow callouts with a black border
indicates a required field, while yellow callouts with a black border ![]() indicate optional fields. Letters within the callouts correspond to the explanations below the diagram. A red asterisk (*) indicates a required field in the eMMA interface.
indicate optional fields. Letters within the callouts correspond to the explanations below the diagram. A red asterisk (*) indicates a required field in the eMMA interface.
- Access eMMA at https://emma.maryland.gov and log in with your credentials.
NOTE: Depending on your agency, you may only need to click the State SSO Login (Secure Auth) button or the MDOT SSO Login (MSAzure) button and log in with your credentials.
- Click the Procurement tab at the top of the webpage and select the Browse Receipts option from the drop-down menu that opens.

- Use the search fields and Search button at the top of the page to find the receipt that needs the return.
- Click the Edit (pencil) icon or the REC code number under the Code column to access the receipt.

- Click the Create return button at the top of the page.

- Enter the return reference number (RMA) and click the Save button at the top of the webpage.

- Label: Edit the label in this field. It is a best practice to make this label unique.
- Return Ref.: Enter the return reference number from the Vendor in this field, if applicable.
- Shipping Date: This date auto-populates with today’s date. Click this field to change it, if necessary.
- Shipping Place (*): Click this field and select an option from the drop-down menu that opens.
- Comments: Enter comments in this field, if necessary.
- Click or Drag to add files: Click this button to upload files, if necessary
NOTE: Uploaded files cannot exceed 307,200 KB.
- Click the Save button at the top of the webpage or in the Comments section. The Received section displays at the bottom.
- Scroll down to the Received section. Click the Edit (pencil) icon beside the line item.

- Enter quantity you need to return in the Quantity Received field and click the Save and Close button.

- Click the Schedule Return button at the top of the webpage to launch the return workflow.

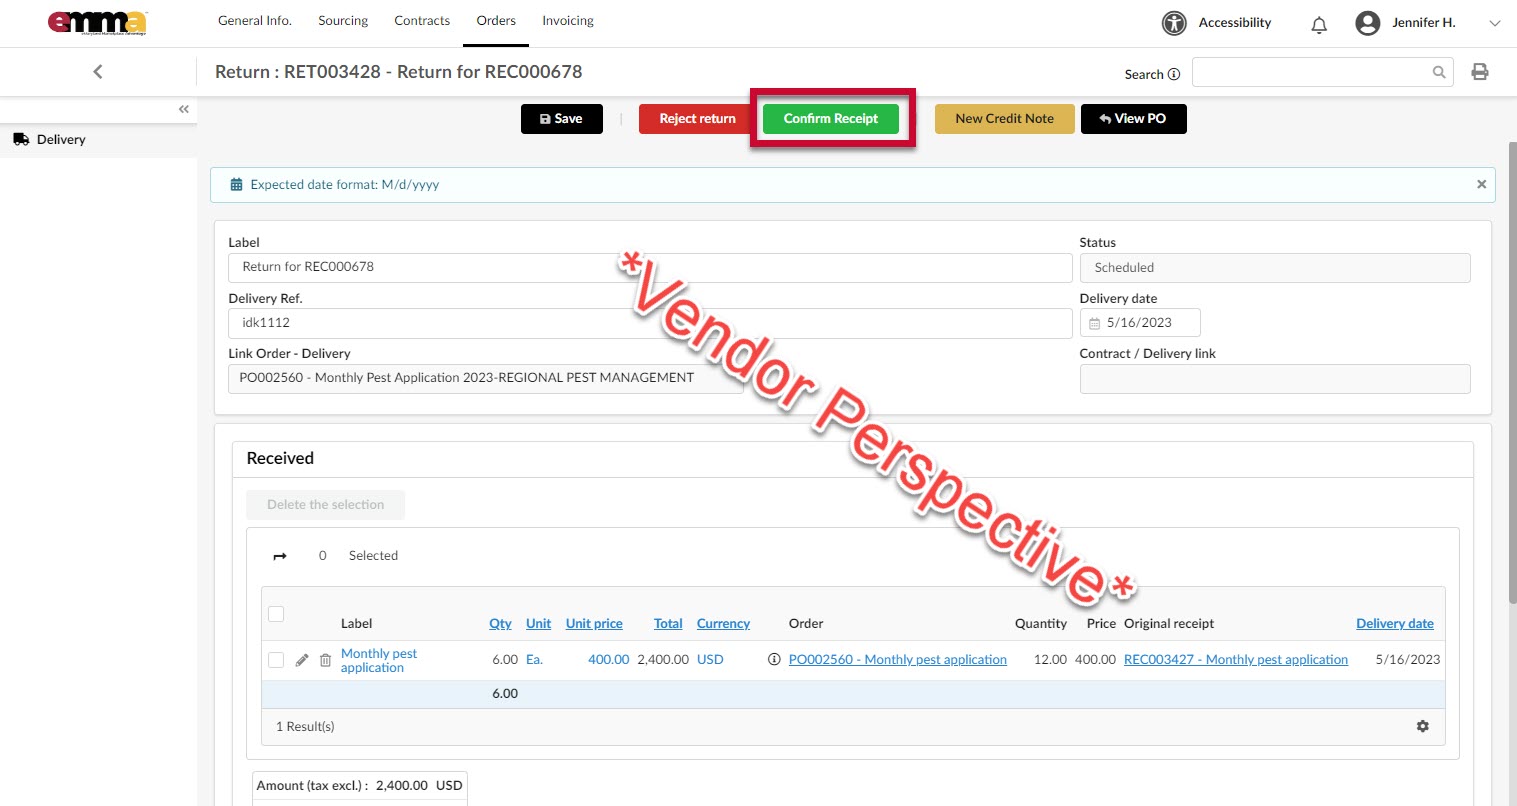
- Click the Confirm shipping button at the top of the webpage.

The Vendor is notified of the return and can access the return item in their notification or in their My To Do List on the eMMA homepage.